
How to Grow Sango Radish Microgreens in Australia
Sango radish microgreens grow indoors in any month on a shallow tray of damp seed raising mix. Scatter the dry seed in one even layer, press it in, mist it and cover it until most seeds sprout. Then move the tray into bright light so the shoots turn purple. Water from below and cut above the mix about 6 to 10 days from sowing.
| Seed | About 10 to 15 g per 25 cm tray |
|---|---|
| Soak | None needed; sow dry seed on damp mix |
| Rinse | None; mist, then water from below |
| Light | Bright light once uncovered |
| Temperature | Best near 21°C |
| Harvest | 6 to 10 days |
| Yield | Up to about ten times the seed weight |
| Storage | Dry, sealed, 5°C or colder, two to three days |
| Use | Salads, sandwiches and tacos, or cooked in stir-fries |
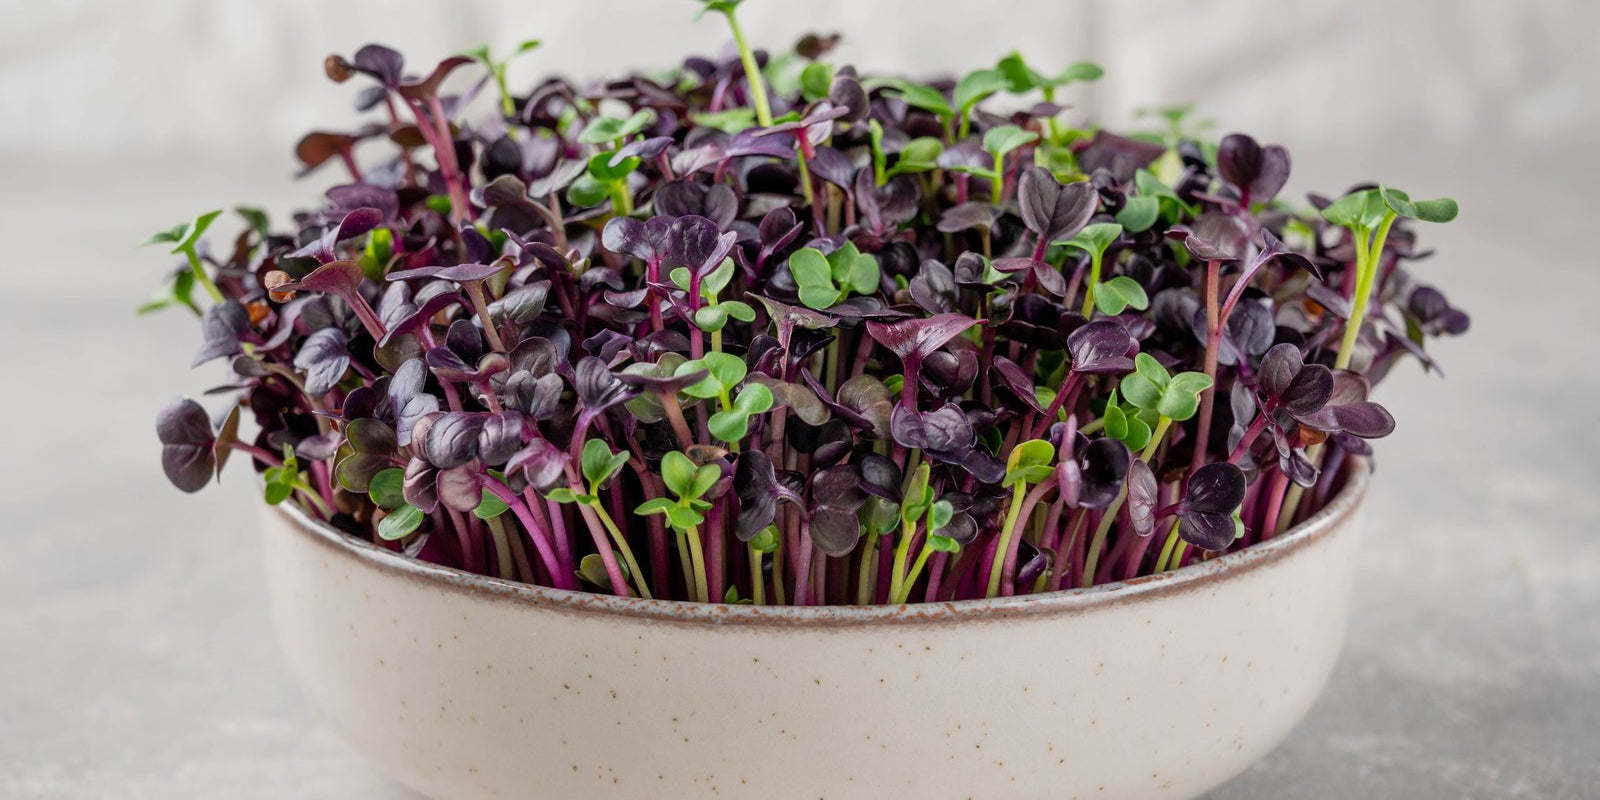
Sango radish (Raphanus sativus 'Sango', family Brassicaceae) is a radish grown for purple microgreens, cut young from a thickly sown tray of mix. The crunchy shoots taste of peppery radish, are often eaten raw and are usually ready 6 to 10 days from sowing. Shoots leave the cover pale yellow and turn purple once they reach bright light.
Three mistakes that matter
- Sowing shoulder to shoulder. Seed packed tight traps damp, still air at the base. There, mould and damping off (seedlings rotting and collapsing at the mix surface) take hold. Scatter one even layer, the seeds close but not touching.
- Leaving the tray in dim light. Shoots uncovered in a dark corner stay pale yellow and stretch toward the light. When the cover comes off, move the tray to a bright spot with morning sun, or under a grow light, out of hot direct sun.
- Cutting too late. Past the seed-leaf stage a spiky first true leaf appears, and the shoots grow leafier and lose their crunch. Cut once both seed leaves are fully open and before the true leaf shows.
When to sprout
A tray on a bright kitchen bench grows in any month. Gardeners sow radish into soil between about 8 and 30°C, and a room near 21°C suits the tray well. A cold room slows it, while heat speeds growth but can leave the tray uneven, and warm, humid air favours mould.
| Zone | Example cities | Sow | Harvest | Notes |
|---|---|---|---|---|
| Tropical | Darwin NT; Cairns, Townsville QLD; Broome WA | Jan-Dec | Year round | Wet season heat and humidity breed mould under a cover. Uncover promptly and keep a fan on low. |
| Subtropical | Brisbane, Sunshine Coast QLD; Coffs Harbour, Lismore NSW | Jan-Dec | Year round | Humid summers call for thinner sowing and moving air. Mild, bright winters suit a windowsill tray. |
| Arid and semi-arid | Alice Springs NT; Dubbo NSW; Mildura VIC; Kalgoorlie WA | Jan-Dec | Year round | Dry summer heat empties a tray fast, so it often needs water at both daily checks. |
| Temperate | Sydney, Wollongong NSW; Melbourne, Geelong VIC | Jan-Dec | Year round | Warm, humid Sydney summers invite mould. Cold Melbourne winter kitchens slow germination, so find a warmer spot. |
| Mediterranean | Perth, Bunbury WA; Adelaide SA | Jan-Dec | Year round | Long, dry summers dry trays quickly. In wet winters, crack a window so damp air does not settle. |
| Cool and alpine | Hobart, Launceston TAS; Canberra ACT; Ballarat VIC; Orange NSW | Jan-Dec | Year round | Cold kitchens from April to October slow the tray, and brassica seed left covered too long can mould in winter. |
In a cold winter kitchen, stand the covered tray on a seedling heat mat or in the warmest room of the house.
Food safety
Seed kept warm and damp to germinate also gives bacteria a place to multiply, and bacteria carried inside a contaminated seed cannot be washed off.
- Buy seed sold for sprouting or microgreens. Some seed sold for garden sowing is treated with fungicide and is not for eating.
- Wash your hands before handling seed, mix or shoots. Wash and rinse the tray, cover and scissors, then sanitise them before the first batch and between batches. Use a dishwasher that can sanitise, usually on its longest, hottest setting. Otherwise, soak them in very hot water (77°C for 30 seconds). Or soak them for 30 seconds in plain unscented household bleach at 25 mL to 10 L of cold water. Make the bleach up fresh each day and use it as its label directs. Let them air-dry.
- Mist and water the tray only with water fit to drink.
- Bagged mix can carry Legionella bacteria. Read the warning on the bag, wet the mix down before handling it, wear gloves and a P2 mask, and wash your hands afterwards.
- Keep cut shoots in a fridge at 5°C or colder, on a shelf above raw meat, poultry and seafood. Serve cooked shoots straight away. Any left over are cooled, kept in the fridge, used within a day of cooking and reheated until steaming hot.
- Mould, slime, collapsing patches or a sour smell end a tray: throw the shoots out, compost the mix, and wash and sanitise the tray. Shoots can carry harmful bacteria and still look, smell and taste normal, so none of those is a test of safety. More signs are in sprout problems and safety.
What you need
Set a shallow tray with drainage holes inside a solid tray, and keep a second tray or a lid to cover the seed. Add seed raising mix, a spray bottle, clean scissors and Sango radish seed.
| Tray | Dry seed | Approximate yield |
|---|---|---|
| About 13 x 13 cm | About 3 to 4 g, roughly a level teaspoon | Up to about 30 to 40 g of shoots |
| About 25 x 25 cm | About 10 to 15 g, roughly a tablespoon | Up to about 100 to 150 g of shoots |
| About 25 x 50 cm | About 20 to 30 g, roughly two tablespoons | Up to about 200 to 300 g of shoots |
The same seed can be sprouted in a jar and eaten root and all within days, the way daikon radish sprouts are grown.
Sowing
Sow the seed dry, straight onto damp mix: small brassica seed such as radish needs no soak.
- If the tray has large holes, line it with paper towel. Fill it with 3 to 4 cm of seed raising mix.
- Water the mix until it is evenly moist, then let it drain. It should feel spongy, not muddy.
- Level and gently firm the surface, then scatter the seed evenly in one layer.
- Press the seed lightly into the mix without burying it, and mist the surface.
- Cover it with a second tray nested on the seed, or a lid, and leave it in a dim spot.

Check the tray each morning and evening. While it is covered, mist only if the surface has dried. Once uncovered, water from below when the tray feels light or looks dry. Stand it in a shallow dish of water until the top darkens, then lift it out to drain. In a hot, humid kitchen, uncover as soon as most seeds have sprouted, as damp seed under a cover moulds quickly.
Day by day
| Day | What to do | What to look for |
|---|---|---|
| Day 0 | Sow, mist and cover | Seed in one even layer on damp mix |
| Day 1 to 2 | Keep covered; check morning and evening | Seed coats split, white roots with fine root hairs |
| Day 2 to 3 | Uncover once most seeds have sprouted and move into bright light | Pale yellow stems, seed leaves still folded |
| Day 3 to 6 | Water from below as Sowing describes; keep air moving | Stems and seed leaves taking on purple |
| Day 6 to 10 | Cut above the mix | Both seed leaves fully open and coloured, no true leaf yet |
The purple is anthocyanin, a pigment that studies of red radish sprouts show building up in the stems once they are in light. In humid weather, run a fan on low or open a nearby window.

Cutting and Storing
Sango is usually 7 to 10 cm tall when ready, at the stage Three mistakes that matter describes. Cut when the leaves are dry, since damp shoots spoil faster in the fridge.

Use clean scissors and cut just above the mix. Take only what you need and leave the rest in the tray, but cut them all before long, since the flavour changes as they grow. The roots and spent mix then go to the compost, and the tray is washed and sanitised.
Refrigerate dry shoots in a sealed container with a paper towel, at the fridge temperature Food safety gives. They are best within two or three days. Rinse them under cool running water just before use. Sango shoots are usually eaten raw in salads, sandwiches and tacos, or cooked in stir-fries.

Common problems
White fuzz on the roots. Radish is prone to it, and it is usually root hairs: an even white fuzz on the roots only, which shrinks when misted. Mould can be white too, but it spreads in cobwebby patches over seed and mix, stays after misting and smells musty. A mouldy tray is thrown out.
Shoots collapsing at the base, slime or a sour smell. This points to rot or damping off from wet mix and still air. Deal with the tray as Food safety describes, and see Three mistakes that matter.
Patchy or wavy germination. Old seed, mix that dried out under the cover, or a tray left uncovered can come up unevenly. Keep the next tray covered and evenly damp until most seed has sprouted.
Some shoots stay green. Sango ranges from deep purple to green, so a few green shoots in a purple tray are normal.
Shoots leaning one way. On a windowsill they grow toward the glass. Turn the tray each day to keep them upright.
Tips
- Sow a small tray every two or three days for a steady supply.
- Grow each kind of seed in its own tray and mix them on the plate, since different seeds come up at different rates.
- Keep dry seed sealed in a cool, dark, dry cupboard, where radish seed can keep for several years.
- The microgreens article covers other seeds grown the same way, and the radish guide covers radishes grown in the garden for their roots.
Questions
Do I need to soak Sango radish seed before sowing?
No. Small brassica seed such as radish goes straight onto damp mix, dry. Scatter it in one layer, press it in, mist it and cover it. Larger seeds such as sunflower and mung bean are the ones that take an overnight soak.
Do Sango radish microgreens grow back after cutting?
No. Radish microgreens do not regrow once cut, because the cut takes the growing tops. Compost the roots and spent mix, clean and sanitise the tray, and sow again in fresh mix.
Can I grow Sango radish microgreens without soil?
Yes. Sango grows on a hydroponic growing mat as well as on mix. A mat holds less water and needs more attention, while mix evens out moisture, which helps in a humid kitchen. Keep a mat well wetted but drained, never sitting in water.
Do Sango radish microgreens need a grow light?
Not always. A bright windowsill grows them well. In a dim kitchen or a dull winter, a grow light helps, and at least 12 hours of light a day supports good growth.
How long do Sango radish microgreens keep in the fridge?
They are best within two or three days. Cut them dry, pack them loosely in a sealed container with a paper towel, and keep the fridge at 5°C or colder. If moisture collects in the container, add a fresh paper towel.
Grow it


More sprout guides
All sprouts
Alfalfa Sprouts
Grow alfalfa sprouts in a jar in Australia: how much seed, soaking, rinsing, greening, floating off hulls, storing, food safety, and root hairs versus mould.
| Position | Indirect light, never direct sun |
|---|---|
| First pick | Days 5 to 8 |
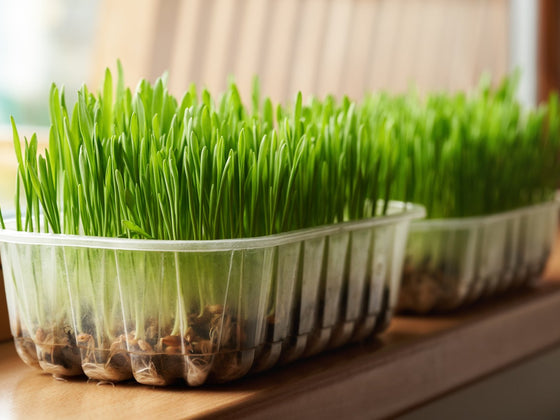
Barley Grass
Grow barley grass on a tray in Australia: soaking, sowing, watering from below, when to cut, storing, food safety, and how it differs from wheatgrass.
| Position | Bright indirect light |
|---|---|
| First pick | 6 to 10 days |

Black Sunflower Shoots
Grow black sunflower shoots on a tray in Australia: soaking, sowing under a weight, light, watering, knocking off the shells, cutting, storing and food safety.
| Position | Bright, indirect light |
|---|---|
| First pick | 8 to 14 days |
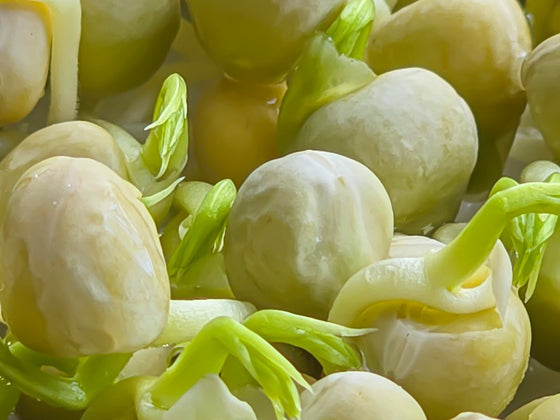
Blue Pea Sprouts
Grow firm, crunchy blue pea sprouts in a jar in Australia: how many peas to use, soaking, rinsing, when to harvest, storing, food safety and common problems.
| Position | Low light, out of sun |
|---|---|
| First pick | 2 to 4 days |