
How to Grow Red Clover Sprouts in Australia
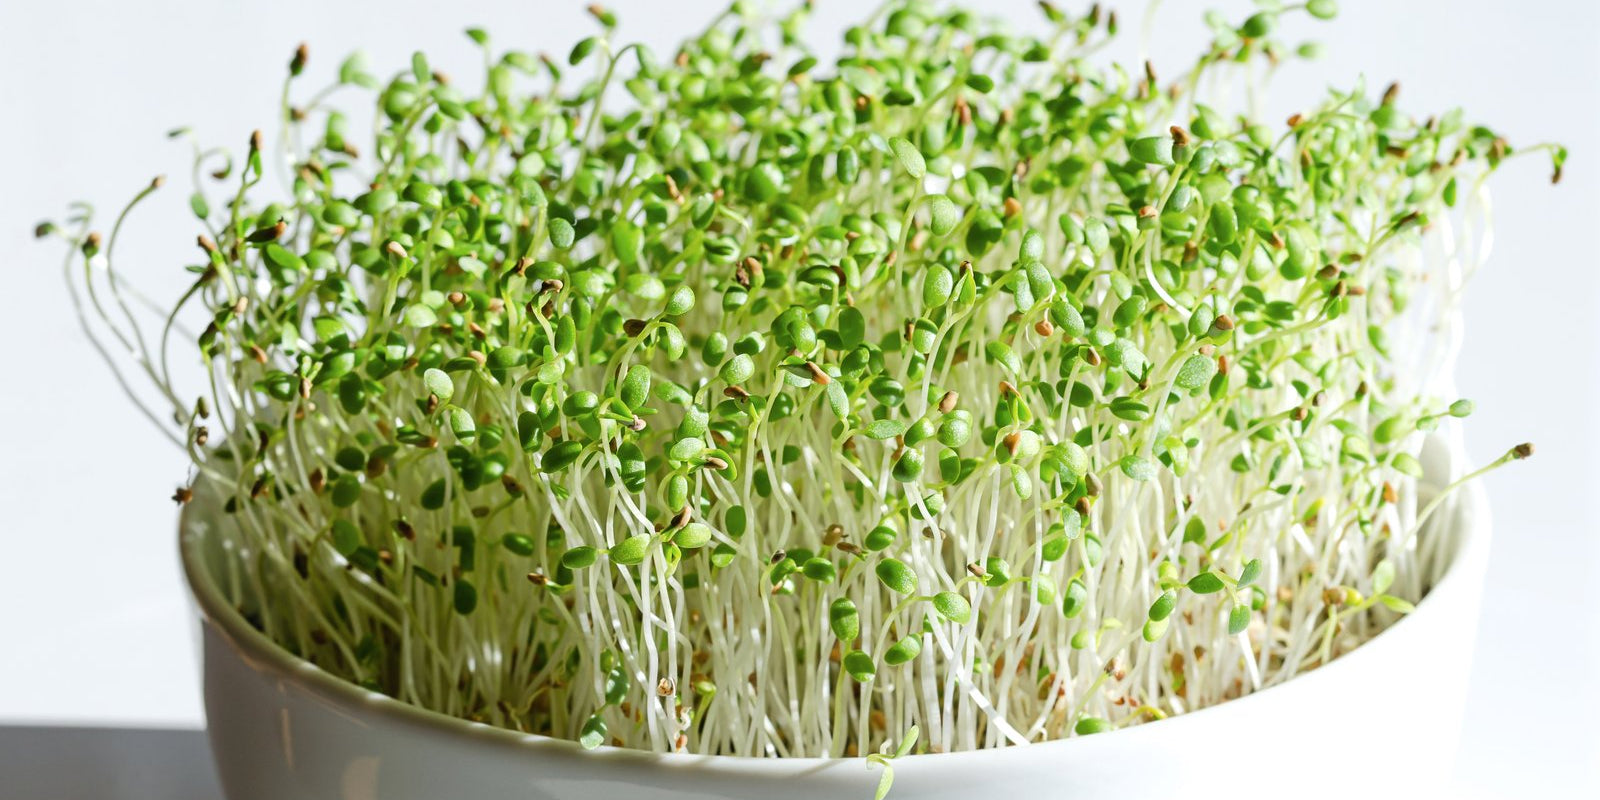
Red clover sprouts are usually ready 4 to 6 days after the soak starts. Soak 2 level tablespoons of seed sold for sprouting in a 1 L jar for 4 to 8 hours. Rinse and drain every 8 to 12 hours, jar tilted mouth down. Green them in bright, indirect light, float off the hulls, dry them and refrigerate at 5°C or colder. People at higher risk eat them cooked.
| Seed | 2 level tablespoons, about 30 g, per litre |
|---|---|
| Soak | 4 to 8 hours in cool drinking water |
| Rinse | Every 8 to 12 hours, drained well |
| Light | Indirect light, never direct sun |
| Temperature | Best at 18 to 22°C |
| Harvest | Days 4 to 6 |
| Yield | About 7 times the dry seed weight |
| Storage | Dried, sealed, 5°C or colder, 4 to 6 days |
| Use | Sandwiches, wraps and salads, or cooked in soup |
Red clover (Trifolium pratense), a pea family legume (Fabaceae) sown in Australian pastures, sprouts in a jar into a crop usually eaten raw. The sprouts are crisp and mild with a faint nuttiness, and they are usually ready 4 to 6 days after the soak begins. They grow much like alfalfa sprouts, and the step most often done badly is draining.
Three mistakes that matter
- Leaving the jar wet. Water pooled around the seed lets bacteria multiply and turns the jar sour. After every rinse, shake the jar until it stops dripping, then stand it mouth down at about 45 degrees in a bowl.
- Crowding the jar. Sprouts swell to six to ten times the size of the seed, and a packed jar holds water where air cannot reach the middle. Keep to the amounts in What you need.
- Sprouting paddock seed. Red clover sold for pasture is often lime pelleted and inoculated, and seed sold for sowing may carry fungicide or insecticide. Sprout only untreated seed sold for sprouting, as which seeds to sprout explains.
When to sprout
Red clover sprouts indoors in any month, and a room at 18 to 22°C suits it. Warmer rooms speed growth and cool ones slow it. Warm, damp air also suits bacteria, so heat calls for more rinsing, not less.
| Zone | Example cities | Sow | Harvest | Notes |
|---|---|---|---|---|
| Tropical | Darwin NT; Cairns, Townsville QLD; Broome WA | Jan-Dec | Year round | Build-up and wet season humidity favour mould: rinse every 8 hours with the coldest tap water, in moving air. |
| Subtropical | Brisbane, Sunshine Coast QLD; Coffs Harbour, Lismore NSW | Jan-Dec | Year round | Muggy summers call for thorough draining and an airy spot. Mild winters keep the bench close to ideal. |
| Arid and semi-arid | Alice Springs NT; Broken Hill NSW; Mildura VIC; Kalgoorlie WA | Jan-Dec | Year round | Dry summer heat can parch seed between rinses, so keep the jar off hot sills. Frosty nights slow it. |
| Temperate | Sydney, Wollongong NSW; Melbourne, Geelong VIC | Jan-Dec | Year round | Mild spring and autumn kitchens suit the jar. Sydney heatwaves need colder rinses; Melbourne winters slow growth. |
| Mediterranean | Perth, Bunbury WA; Adelaide SA | Jan-Dec | Year round | Long, dry summers bring early heat: sprout in the coolest room, away from west-facing windows and the oven. |
| Cool and alpine | Hobart, Launceston TAS; Canberra ACT; Ballarat VIC; Armidale NSW | Jan-Dec | Year round | Frosty months from April to October make for slow jars. Choose a warm room, clear of heaters and draughts. |
When a Townsville build-up or a Perth heatwave pushes the kitchen past 22°C, use the coolest room or pause until the weather eases.
Food safety
A jar kept warm and damp for days grows bacteria as readily as sprouts, and bacteria carried inside a contaminated seed cannot be rinsed out.
- Start with seed sold for sprouting, and wash your hands before you touch seed or sprouts.
- Wash the jar, lid and bowl in hot, soapy water and rinse them. Then sanitise them before the first batch and between batches. Use a dishwasher that can sanitise, usually on its longest, hottest setting. Otherwise, soak them in very hot water (77°C for 30 seconds). Or soak them for 30 seconds in plain unscented household bleach at 25 mL to 10 L of cold water. Make the bleach up fresh each day and use it as its label directs. Never mix it with vinegar. Let everything air-dry.
- Soak and rinse only with drinking-quality water, and sprout well away from raw meat, pets and the chopping board.
- Keep the fridge at 5°C or colder, and use raw sprouts within 4 to 6 days of harvest. Cooked sprouts for anyone at higher risk are served at once. Any left over are cooled, refrigerated, used within a day of cooking and reheated until steaming hot.
- Sprouts can carry harmful bacteria yet look, smell and taste normal, so none of those tells you they are safe.
- Bin any jar that smells sour or musty, turns slimy or darkens. Sprout problems and safety covers more warning signs.
What you need
A wide-mouth glass jar with a fine mesh sprouting lid does the job, or a square of muslin held on with a rubber band. A bowl or dish rack keeps the jar tilted mouth down. The store's red clover seed for sprouting is untreated, and a sprouting jar or a set of mesh lids for mason jars completes the kit.
| Vessel | Dry seed | Approximate yield |
|---|---|---|
| 500 mL jar | 1 level tablespoon, about 15 g | About 105 g of sprouts |
| 1 L jar | 2 level tablespoons, about 30 g, and no more | About 210 g, enough to fill the jar |
| Sprouting tray, per tier | A single layer, with tray showing between the seeds | About 7 times the dry seed weight |
The spoons are 20 mL Australian tablespoons. At that rate a 100 g packet sprouts about three 1 L jars.
For a tiered tray, soak the seed as below and scatter it thinly over each tier. Run it under the tap two to three times a day, and empty the drip tray daily.
Soaking and Rinsing
Begin the soak in the morning and drain it by evening.
- Tip the measured seed into the jar and cover it with water. Skim off floating seed, loose hulls and debris, which research ties to most contamination, then pour the water away.
- If you choose, soak the seed in undiluted supermarket vinegar for 15 minutes, then rinse it under the tap for 1 minute. This lowers the risk but does not remove it.
- Cover the seed with two to three times its volume of cool drinking water, about 21 to 27°C. Soak it for 4 to 8 hours out of the sun, keeping to the short end in a warm kitchen.
- Drain, rinse once more and drain thoroughly. Do not leave it soaking longer, since seed left in water can ferment and spoil.
- Roll the seed around the glass to spread it, then prop the jar mouth down in the bowl.

After that, rinse with cool drinking water every 8 to 12 hours, two or three times a day, and never soak the seed again. Fill the jar through the mesh each time, swirl, and pour it all out. Tilting the jar lets the last water run out while air moves through the mesh.
Day by day
Airflow and drainage carry the jar from here, and light hardly matters until leaves form.
| Day | What to do | What to look for |
|---|---|---|
| Day 0, soak starts | Skim, soak 4 to 8 hours, drain | Seed swells as it takes up water |
| Day 1 | Rinse and drain every 8 to 12 hours | Tiny white roots begin to show |
| Day 2 | Keep rinsing and draining hard | Stems lengthen quickly; fine root hairs before a rinse |
| Day 3 | Move the jar into bright, indirect light; loosen any clump with a clean fork | First small leaves begin to open |
| Day 4 to 6 | Keep rinsing in indirect light, loosening daily; harvest when ready | Most leaves open and green |
Keep the jar out of direct sun, which heats the glass fast and can cook the sprouts. A cold kitchen stretches every stage, so go by the signs in the last column rather than the day.

Harvesting and Storing
Red clover sprouts are ready when most leaves have opened and turned green. Their thin seed coats, called hulls, come away more readily than alfalfa's, and the sprouts keep better without them.
- Fill a large bowl with cool drinking water and drop the sprouts in.
- Swish and separate the tangle gently so the empty hulls float up.
- Scoop the hulls from the surface with a small sieve.
- Lift the sprouts out by the handful, leaving any sunken hulls behind.
Dry the surface before chilling, in a salad spinner or on clean kitchen paper, because surface water shortens fridge life. Pack them loosely into a clean, lidded container and refrigerate them at once. Clover sprouts are commonly eaten raw in sandwiches, wraps and salads, and they also go into soups and stir-fries. Rinse each serve under cool running water just before use. Rinsing does not remove bacteria inside the sprout, so anyone at higher risk still eats them cooked until steaming hot.

Common problems
Fuzz on the roots. Root hairs form an even white fuzz along each root, and they fall flat when you rinse. Mould can also be white, but it spreads in cobwebby patches over seeds and hulls, survives a rinse and smells musty. Throw out a mouldy jar.
Sour smell or slime. These are spoilage signs, and no rinse brings the jar back. Throw it out, sanitise the kit, and restart with better draining.
Seeds that stay hard. Red clover seed can include hard seed (seed whose coat keeps water out), so a few that never sprout are normal. Many at once point to old seed, overheating or irregular rinsing.
Tips
- Start a small jar each time the last batch goes into the fridge, so fresh sprouts keep coming.
- Swap to a coarse mesh lid for the final rinses, so loose hulls wash out through it.
- Keep dry seed sealed in a cool, dark, dry cupboard, where it can stay viable for several years; the freezer stretches that further.
Questions
How are red clover sprouts different from alfalfa sprouts?
Very little. The method, timing and flavour are close to identical. Red clover leaves green to a lighter shade, so judge readiness by open leaves rather than colour. Clover and alfalfa are both named among the sprouts most often linked to food poisoning, so the same care applies.
Can I sprout red clover with alfalfa or broccoli seed in one jar?
Yes. Red clover is a common base for sprout mixes. Pair it with seed that has a similar soak time and harvest day, and try a small test batch first. Otherwise sprout each seed on its own and combine them after harvest.
Why are some of my red clover sprouts still yellow?
Sprouts buried in the middle of the clump get little light and can stay pale, and that is normal. If the whole jar stays yellow, give it a brighter spot for the final days, still out of direct sun.
Are home-grown clover sprouts safer than shop-bought ones?
Not by default. The seed itself is the usual source of contamination, whoever grows it, and clean home conditions cannot guarantee bacteria-free sprouts. Anyone in a higher risk group should eat them cooked, home-grown or not.
Grow it


More sprout guides
All sprouts
Alfalfa Sprouts
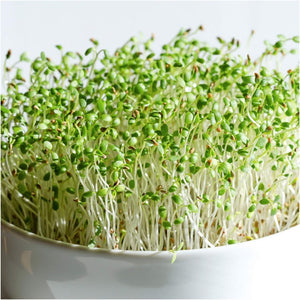
Grow alfalfa sprouts in a jar in Australia: how much seed, soaking, rinsing, greening, floating off hulls, storing, food safety, and root hairs versus mould.
| Position | Indirect light, never direct sun |
|---|---|
| First pick | Days 5 to 8 |
Barley Grass
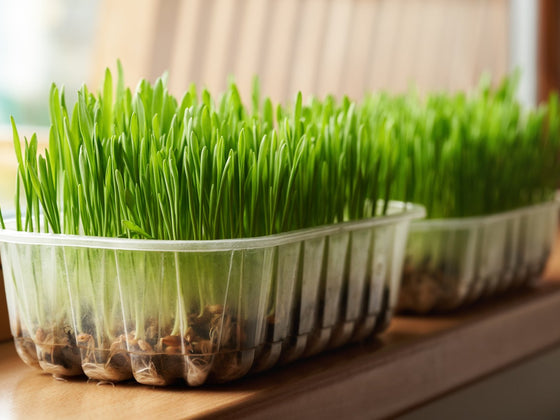
Grow barley grass on a tray in Australia: soaking, sowing, watering from below, when to cut, storing, food safety, and how it differs from wheatgrass.
| Position | Bright indirect light |
|---|---|
| First pick | 6 to 10 days |

Black Sunflower Shoots
Grow black sunflower shoots on a tray in Australia: soaking, sowing under a weight, light, watering, knocking off the shells, cutting, storing and food safety.
| Position | Bright, indirect light |
|---|---|
| First pick | 8 to 14 days |
Blue Pea Sprouts
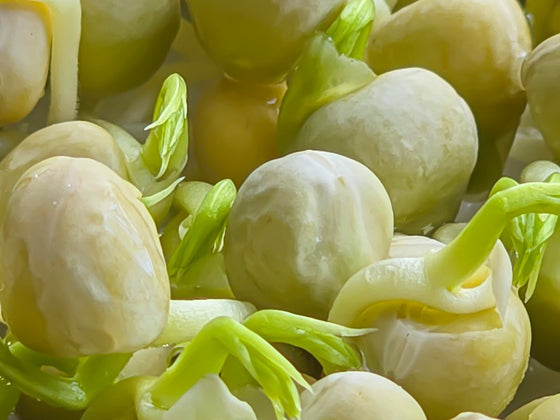
Grow firm, crunchy blue pea sprouts in a jar in Australia: how many peas to use, soaking, rinsing, when to harvest, storing, food safety and common problems.
| Position | Low light, out of sun |
|---|---|
| First pick | 2 to 4 days |