
How to Grow Jerusalem Artichokes in Australia
Jerusalem artichoke is a tall perennial sunflower grown for its knobbly tubers. Plant firm tubers, or pieces with two eyes, 10 cm deep and 25 to 30 cm apart in a contained bed. Plant as the last frosts end. Feed potassium rather than heavy nitrogen, and water deeply in dry spells. Dig 4 to 6 weeks after flowering, or once the tops die back.
| Sun | Full sun; tolerates part shade |
|---|---|
| Water | Deep weekly soak in dry spells; never soggy |
| Soil | Free-draining, light sandy loam, pH 6.0 to 7.5 |
| Feed | Compost at planting; balanced feed early, potassium from flowering |
| Spacing | 25 to 30 cm |
| Depth | Tubers 10 cm deep |
| Germination | Tubers; shoots usually in 1 to 2 weeks |
| Harvest | 20 to 30 weeks, usually at autumn dieback |
| Container | Not suited to pots |
| Frost | Shoots frost tender; tubers overwinter in the ground |
| Use | Scrubbed tubers roasted, boiled, baked or raw |
Jerusalem artichoke (Helianthus tuberosus) is a perennial sunflower (family Asteraceae) that stands 2 to 3 m tall and is grown for its knobbly, nutty tubers. Despite the name, it is only a distant relative of globe artichoke, and it is a different plant from yacon, potato and sweet potato. Most Australian gardens grow it with little fuss; the usual mistake is planting it where it can spread, since pieces left behind usually regrow.
Three mistakes that matter
- Planting it in the main vegie patch. Knobs missed at digging time usually shoot again, and a clump can take over a bed and prove hard to clear. Give it a permanent, contained bed, as Site, soil and setup describes.
- Feeding for leaf. High-nitrogen fertiliser grows towering tops at the expense of the tubers. Build the bed with compost, go gently on nitrogen, and feed potassium from flowering, as Care by growth stage sets out.
- Digging too early. Tubers begin to swell only as the days shorten in late summer, and most of their growth comes in autumn. Hold off until the signs that Harvesting Tubers describes.
When to plant
Tubers sprout best once the soil holds about 8 to 15°C, and frost damages the young shoots badly, so plant as the last frosts end. One planting usually lasts for years. Where it does not persist, as in warm, humid districts, replant from stored tubers each year.
| Zone | Example cities | Plant | Harvest | Notes |
|---|---|---|---|---|
| Tropical | Darwin, Katherine NT; Cairns, Townsville QLD | May-Jun | Oct-Nov | Marginal, as tubers rot in warm, wet soil. Plant early in the dry, lift before the wet, replant yearly. |
| Subtropical | Brisbane, Sunshine Coast, Bundaberg QLD; Coffs Harbour, Lismore NSW | Apr-Oct | Mar-Jun | Plant in autumn or spring. Lift the whole crop once the tops die, since warm, wet soil rots them. |
| Arid and semi-arid | Alice Springs NT; Broken Hill, Dubbo NSW; Mildura VIC; Kalgoorlie WA | Aug-Sep | Apr-Jul | Plant as the inland frosts end. Mulch deeply and water weekly through summer, or tubers stay small. |
| Temperate | Sydney, Newcastle, Wollongong NSW; Melbourne, Geelong VIC | Sep-Nov | Apr-Aug | Grows so readily it can turn weedy. In well-drained soil, leave tubers in the ground and dig as needed. |
| Mediterranean | Perth, Bunbury WA; Adelaide and the SA coast | Jul-Nov | Apr-Aug | Early plantings usually yield best. Water deeply through the long, dry summer while tubers form. |
| Cool and alpine | Hobart, Launceston TAS; Canberra ACT; Ballarat VIC; Orange NSW | Aug-Nov | May-Aug | Plant from August in Canberra, later where frosts run late. Cover shoots on frosty nights; tubers overwinter in the ground. |
A tuber dropped back into each hole at digging time saves a spring planting.
Site, soil and setup
| Get the bed right | What to do |
|---|---|
| Sun | Full sun; part shade is tolerated, though the crop of tubers is usually smaller |
| Soil | Almost any free-draining soil; light, sandy loams are best and make digging easier. Waterlogged ground rots the tubers |
| pH | 6.0 to 7.5; below 6.0, add dolomite lime at 100 to 200 g per square metre, 4 weeks before planting |
| Bed preparation | Dig in a 5 cm layer of compost, or 5 to 10 cm of well-rotted cow or horse manure 4 to 6 weeks ahead, then scatter pelletised chicken manure at 100 g per square metre at planting. Sandy soils, as around Perth, need the compost or manure most |
| Containment | A bed bounded by paving or a path, a raised bed, or a buried barrier of timber, plastic or metal at least 60 cm deep |
| Placement | The southern side of the patch, so its height shades no other crop, and out of strong wind, which snaps stems laden with flowers |
Because it stays put for years, it sits outside any crop rotation. Avoid a bed where sclerotinia rot (Sclerotinia sclerotiorum) has struck beans, lettuce or sunflowers, since the fungus survives in the soil.
Planting Tubers
Jerusalem artichoke grows from tubers, planted whole or cut into pieces. Due to quarantine restrictions and our shipping policy, we cannot send Jerusalem artichoke tubers to Western Australia or Tasmania. Plant tubers soon after they arrive; if the bed is not ready, store them as Harvesting Tubers describes.
Chitting
Chitting (sprouting tubers before they go in the ground) is optional and helps most in cool districts, where the soil warms late. Choose firm tubers about the size of a hen's egg, with no blackened or soft patches. Cut large ones into pieces with two or three eyes (buds) each, and let the cut faces dry for a day. Set them in a tray of barely damp potting mix in a bright, frost-free spot until short shoots show, much as for chitting seed potatoes.
Planting out
- Harden off chitted tubers with long shoots (accustom them to outdoor sun and wind) over about a week first.
- Plant tubers or pieces about 10 cm deep.
- Space them 25 to 30 cm apart, in rows 70 cm to 1 m apart.
- Water in with seaweed solution at 30 mL per 9 L, then mulch well.
- Keep the soil just moist, not wet, until shoots appear, often within one to two weeks and longer in cold soil.
Care by growth stage
Steady water and potassium while the tubers form decide the crop. Weeks count from a spring planting; in the tropics, the stages run through the dry season.
| Stage | Water | Feed | Watch for |
|---|---|---|---|
| Shooting, weeks 1 to 4 | Light, only when the top few centimetres dry | Seaweed solution at 30 mL per 9 L, fortnightly | Garden snail (Cornu aspersum) and slugs on new shoots; late frost, so cover shoots on cold nights |
| Leafy growth, weeks 4 to 16 | A deep soak once a week in dry spells | Fish and seaweed blend at 25 mL per 9 L, fortnightly; pelletised chicken manure at 100 g per square metre once, mid-season | Stems leaning in wind; two-spotted mite (Tetranychus urticae) in hot, dry weather |
| Flowering, weeks 16 to 22 | Deep and regular, as the tubers begin to form | Sulphate of potash at 30 to 50 g per square metre, watered in once; liquid potash at the label rate, fortnightly | Powdery mildew (Golovinomyces species) on the leaves; pinch off flower buds as they appear, which can favour the tubers |
| Tuber swelling and dieback, weeks 22 to 30 | Even moisture to the end, easing as the tops yellow; never soggy | Nothing | Yellowing tops, the sign that digging is close; white mould at stem bases in wet weather |
When the stems reach about 30 cm, draw soil up around them to about 15 cm high to steady the clump. In windy spots, pinch out the tips at about 1 m for a bushier plant, or stake around the outside of the block. Keep the mulch topped up, so tubers near the surface stay covered.
If you prefer a conventional feed, mix a controlled release all-purpose granular (NPK 12-3-8 to 14-5-10) into the bed at planting, at the label rate. In leafy growth, an all-purpose soluble (NPK 23-4-18 to 27-5-9) at half the label rate, fortnightly, is plenty. From the first flower buds, switch to a fruiting and flowering soluble (NPK 15-4-26 to 15-5-20) at the label rate, fortnightly.
Companion planting
Height, wandering tubers and shared diseases decide what belongs beside a stand.
Grows well with
- Cucumber, grown on the sheltered side, where the stand breaks hot, drying summer wind.
- Tomato, planted clear of the stand's shade but within its shelter from wind.
Keep apart
- Yacon, because replanted Jerusalem artichoke tubers may carry diseases over from year to year.
- Sunflower, a close relative that shares powdery mildew and sclerotinia rot.
- Potato, which also suffers sclerotinia rot, and whose bed stray tubers can invade.
- Low crops such as carrots and lettuce, which sit in deep shade on the stand's southern side.
Harvesting Tubers
Dig 4 to 6 weeks after flowering in warm districts, or once the tops die back where winters are cold. Either way, tubers usually need at least five months in the ground.
- Cut the stems down, leaving short stumps to mark each clump.
- Loosen the soil with a fork from outside the clump, since the thin skins bruise easily.
- Lift the clump, then feel through the hole for tubers that have broken away.
- Set aside a few firm, smooth tubers to replant, and dig out every other piece where you want the bed cleared.
Tubers keep best in the ground, so in cool, well-drained beds dig them as needed through winter; frost is said to sweeten them. In subtropical gardens and wet soils, lift the whole crop once the tops die, because tubers left in warm, wet ground can rot. Out of the ground they shrivel quickly. Keep them in a perforated bag in the fridge for 2 to 3 weeks, or in slightly damp sand or sawdust somewhere cool and dark.
Scrub rather than peel, then roast, boil or bake them, or grate very fresh tubers raw into salads.
Common problems
Tubers never shoot. Cold, soggy soil rots planted tubers, and tubers kept long out of the ground dry out first; plant firm, fresh tubers into free-draining soil.
Tall plants, few tubers. Rich nitrogen feeding or deep shade sends growth into stems and leaves; see Three mistakes that matter.
Small, knobbly tubers. Dry spells while tubers form in late summer and autumn keep them small and knobbly; water as Care by growth stage sets out.
Stems blown flat. Tall stems laden with flowers snap or topple in strong wind, and rocking loosens the tubers. Mound, pinch or stake as Care by growth stage describes.
Tubers rot in the ground. Waterlogged soil, or warm, wet ground after the tops die, rots the tubers; see Site, soil and setup and Harvesting Tubers. Read more
Tubers shrivel after digging. The thin skins lose moisture fast, and moulds attack tubers kept long out of the soil; store them as Harvesting Tubers describes.
Pests and diseases
Few pests trouble Jerusalem artichoke, and the odd caterpillar chewing its leaves rarely matters; these five are the ones to watch.
Garden snail (Cornu aspersum) and slugs. This introduced snail is widespread in Australian gardens. Snails and slugs graze the new shoots in spring and can hole tubers near the surface. Pick them off at dusk or after rain. Read more
Two-spotted mite (Tetranychus urticae). These tiny sap-suckers leave yellow stippling on the leaves, and numbers climb quickly in hot, dry weather. Hose the undersides of the leaves, and avoid broad-spectrum sprays, which kill the ladybirds and predatory mites that keep them down. Read more
Powdery mildew (Golovinomyces species). White, powdery patches spread over the leaves in humid weather where air is still. At the first spots, spray 1 part full-cream milk to 10 parts water. Read more
Sclerotinia rot (Sclerotinia sclerotiorum). This fungus rots stems at the base under a white, fluffy mould, then forms hard black resting bodies (sclerotia). These survive in soil for many years, so lift affected plants and their tubers promptly.
Fusarium wilt (Fusarium species). Disease is rare in this crop, but fusarium can ruin a large share of the tubers. Blackened areas on a tuber can signal it, so never replant such a tuber. Read more
Prevention first
- After sclerotinia rot, start a new clump from clean tubers in another bed.
- Leave room between plants and thin crowded clumps, so air moves through the leaves.
- Water the soil rather than the leaves.
- Bin, never compost, any diseased stems or tubers.
Tips
- Keep peelings and small offcuts out of the compost heap, where they sprout and spread.
- While the plants are still growing, dig carefully at the edge of the clump for the largest tubers, and leave the rest to fill out.
- Slice tubers into water with a little lemon juice or vinegar, because the cut flesh browns.
Questions
Are Jerusalem artichokes invasive?
They can be. Pieces left in the ground usually regrow, and a clump can spread through a bed and prove hard to clear, especially in temperate gardens. Grow them in a permanent spot bounded by paving, a path or a buried barrier, and dig out every piece you do not want back.
When do you harvest Jerusalem artichokes in Australia?
Usually from mid autumn into winter, at least five months after planting. In warm districts dig 4 to 6 weeks after flowering; in cold districts wait for the tops to die back. In cool, well-drained beds, leave the tubers in the ground and dig them as you need them.
Can I plant Jerusalem artichokes from the greengrocer?
Often, yes. Firm, fresh tubers from a greengrocer or market usually sprout well. Choose ones with plump eyes and no blackened or soft areas, since blackened patches can signal fusarium wilt.
Do Jerusalem artichokes cause wind?
They can. The tubers store their carbohydrate as inulin, which the body does not break down, and some people find it causes wind or stomach upset. Try a small serve first. Cooking them with lemon juice, or boiling and then roasting them, may lessen the effect.
Are Jerusalem artichokes related to globe artichokes?
Only distantly. Both belong to the daisy family, Asteraceae, but Jerusalem artichoke is a sunflower grown for its underground tubers. Globe artichoke is grown for its flower buds, and the two have little else in common.
More edible produce guides
All edible produce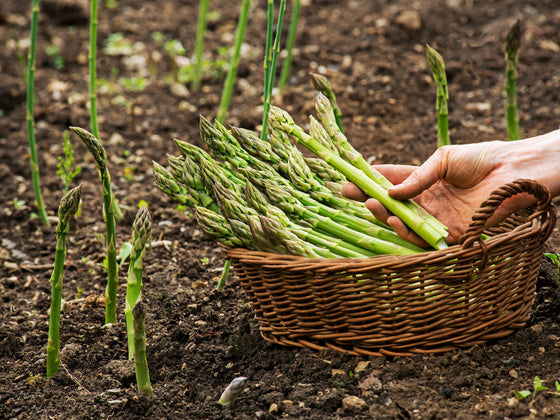
Asparagus
How to grow asparagus from seed in Australia: raising seedlings, planting crowns, a bed of its own, when to start picking spears and cutting back the fern.
| Position | Full sun |
|---|---|
| Depth | Seed 1 to 2 cm |
| Spacing | 30 to 40 cm |
| First pick | Third spring from sowing |
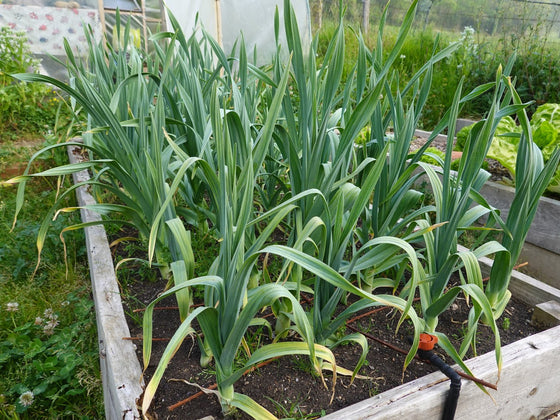
Elephant garlic
Also sold as Russian garlic. Plant the large cloves in April or May, keep the bed weeded and watered, and use the finger test to judge when the bulbs are ready.
| Position | Full sun, 6 hours or more |
|---|---|
| Depth | 5 cm of soil over tip |
| Spacing | 20 to 30 cm |
| First pick | 6 to 8 months |
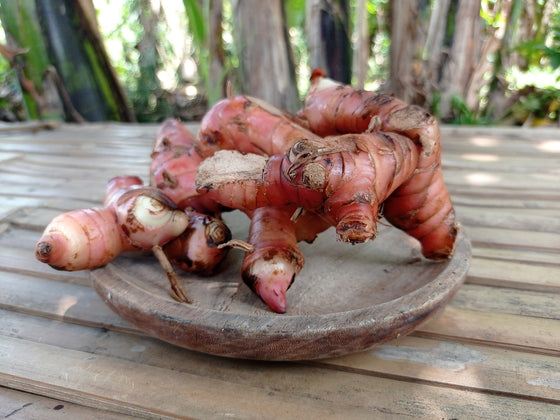
Galangal
Grow Thai red and lesser galangal from rhizomes in Australia: planting months for six zones, pre-sprouting, pots for frosty areas, feeding, pests and harvest.
| Position | Morning sun, afternoon shade |
|---|---|
| Depth | 5 to 7 cm, buds up |
| Spacing | 30 to 45 cm |
| First pick | 17 to 43 weeks |
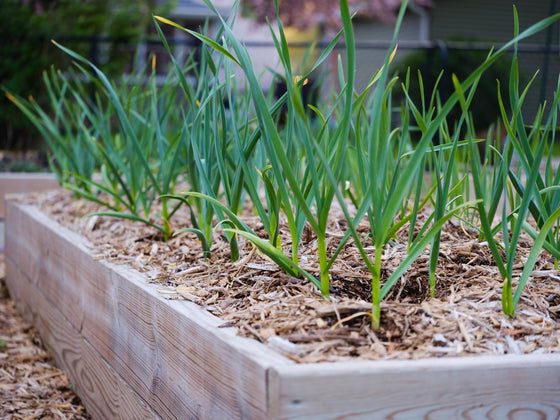
Garlic
When to plant garlic in each Australian climate zone, how deep and how far apart, feeding through winter, and how to tell when the bulbs are ready to lift and cure.
| Position | Full sun, 6 hours or more |
|---|---|
| Depth | Tip 2 to 5 cm deep |
| Spacing | 10 to 15 cm |
| First pick | 22 to 39 weeks |